Control Arms
Rear Drop Pitman cut Control Arm Track Bar Drop
Now you need to figure out if you want to try to do the control arms your self
or buy pre made stuff. I called Tomken and bought their lower urethane bushings and made
my control arms.
Tomken has a new lower control arms that have a swivel joint on the axle side for
articulation. When I made my control arms they didn't have these or I would have bought
them. If you still want to build your own, I'll try and tell you exactly how I did mine.
As you can probably tell by now I don't have a lot of pic's of the process of when I did
my lift. For this I do apologize, but when I did my lift I didn't have a web page or even
know what one was. As a matter of fact I bought my first computer after I did my lift.
If you are reading this I assume that you would like to know how to build your own control
arms. Please remember that if you chose to do these modifications, you do them at your own
risk. The arms that I made are much stronger than stock and will probably still be in
perfect shape when the rest of the truck goes to the scrap heap. The strength of the arms
will depend on the material you use and skills of the welder. 90% of the time a weld will
not break, the metal around the weld will give first. There isn't any rocket science
involved, just common sense.
Lower Arms
First you need a piece of box tubing.

O.K. so Its a cheep pic. It works. You need a piece of 2-inch by 3-inch box tubing with
1/4-inch wall thickness. Make it 17-inches long. This is a hair long but will give you
room for the inevitable "Aw crap!!" Common steel will be more than
sufficient. There isn't a need for chrome-molly or other exotic metals.
Now you have to cut and bend it.
Measure up 4-inches for the dog leg. Don't cut all thew way threw the tube. Leave the top
bit of metal there. It helps keep everything in place. A band-saw or a chop-saw works
best. After the cutting you need to bend the tube. It's best to make a jig for this. That
way both arms are the same.The easiest way to do this is to lay the tube down on a work
bench, use the 4-inch piece as a horizontal line then move the other side up 6-inches from
horizontal (hence the 6-inch lift). when you are done it should look something like this.
Put a gusset in it
Cut a piece of metal in a wedge shape , clean it up and weld it in. You
need to add a 2-inch wide strip on the bottom. Then make sure all gaps are filled in and
everything is solid.
This is where everything counts.
First of all you need to have your bushings and there
holders made and ready. I used the urethane bushings from Tomken and had my local machine
shop make the saddles for them. They will need one bushing to measure off of to get a
tight fit for the saddle. Once you have your saddles made its time to notch the tubing to
weld them in. I took my tubes to the machine shop and had the tubes cut there. When it's
all over and done with the bolt holes should be 16 5/8 center to center give or take a
16th to an 8th.
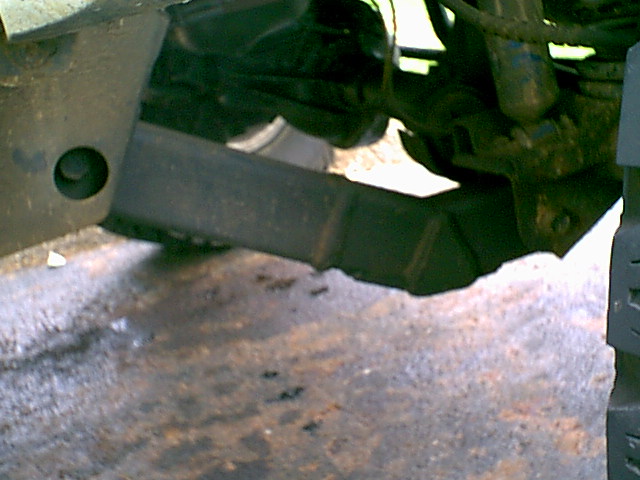
Finished product
To the Top Arm